1. Connect the Yeastar ATA device to the phone, power and an ethernet cable. For this guide I will be using the Yeastar TA200.
2. To check the check the IP Address to log into the ATA device dial
***. You will then hear a voice menu prompting you to Press 1 to check the IP address and 2 for web access address. Press 2.
3. After entering the IP address in the web browser, you will see a log-in screen. The default username is password is:
- User Name: admin
- Password: password
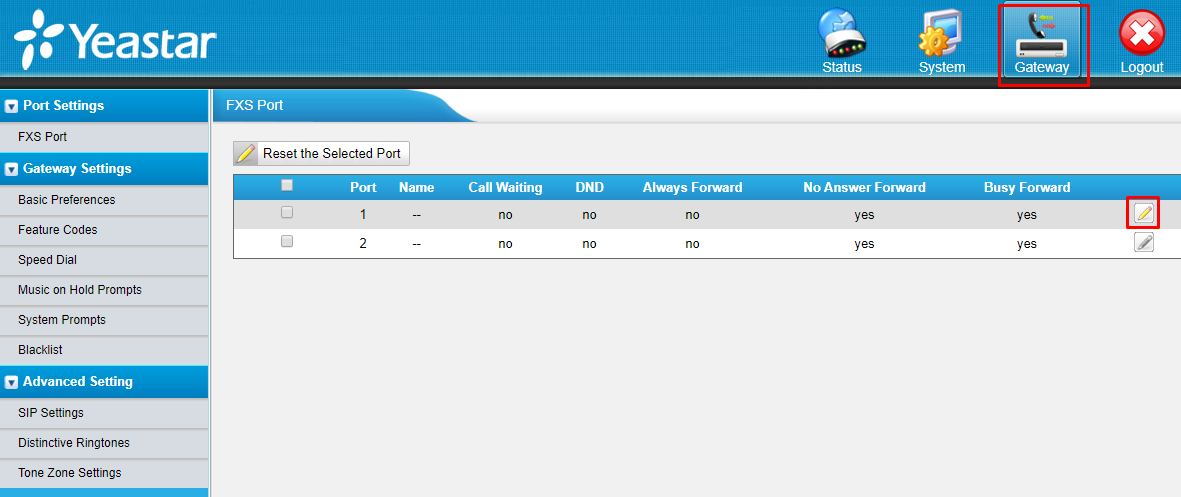
4. In the top menu click on the Gateway icon. Click on the Edit icon relating to the Port you have the phone connected to.
5. Enter the following details into the
Basic tab in the window that pops up.
- Caller ID Name: Used to identify the line/phone.
- Caller ID Number: number shown when making outbound calls.
- User Name: Crazytel SIP Trunk Username.
- Authentication Name: Crazytel SIP Trunk Password.
- Password: Crazytel SIP Trunk Domain.
- DID Number: This can be either the DID setup in the Crazytel Portal or the SIP Trunk User Name. We recommend using the user name so that you can have multiple DID's being used.
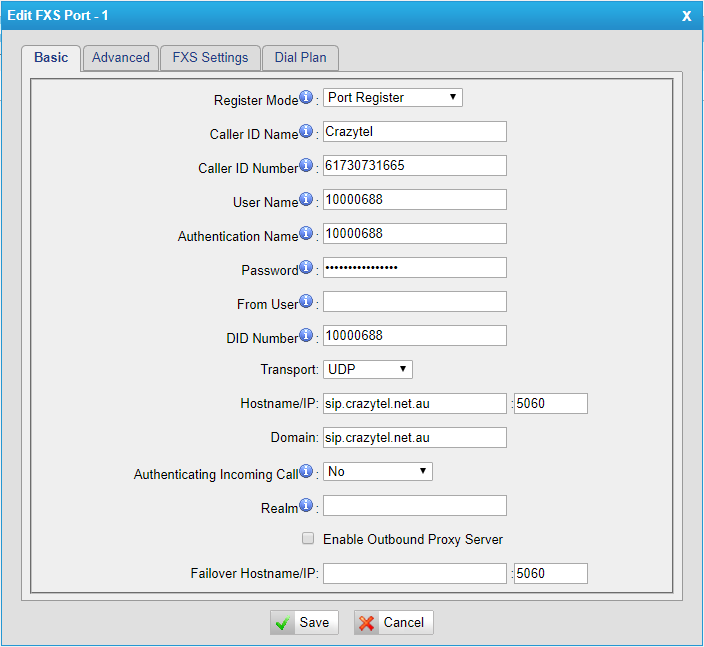
6. Click Save.
7. To publish the changes to the phone, click the Apply Changes button in the top right-hand corner.
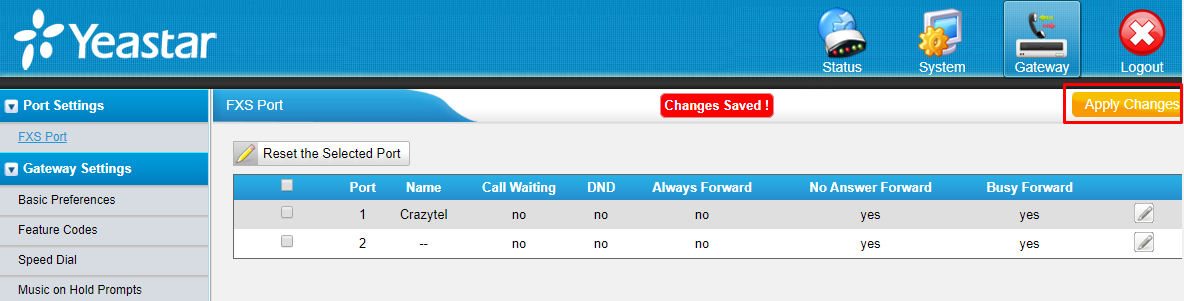
You will now be able to make and receive calls through your Crazytel service.
