This is a guide to help you get Voice-to-Email up and running on your DID.
1. If you aren't already logged in, head to our portal (
portal.crazytel.com.au) and login with your credentials. If you haven't signed up you can also do that here.
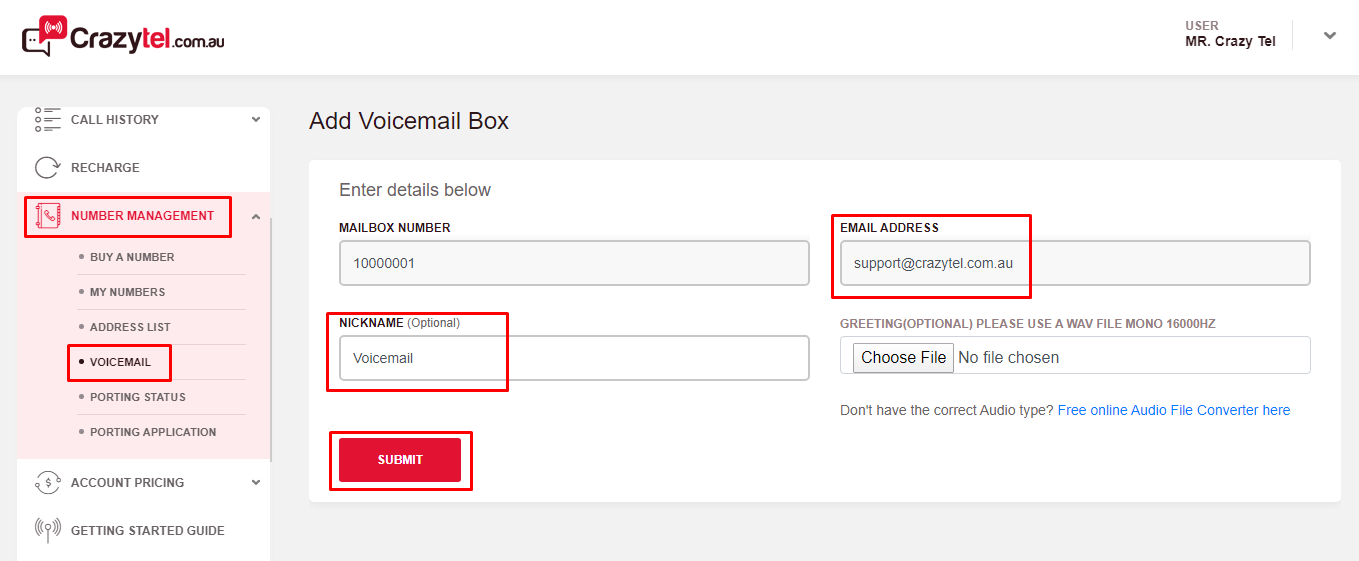
2. Go to
Number Management -> Voicemail and click the
Create Voicemail button in the top right of the screen.
3. Enter the
Email Address you would like to have the messages sent to. You can also enter a
Nickname and upload a
Greeting. If you don't upload a greeting the default recording will be used.
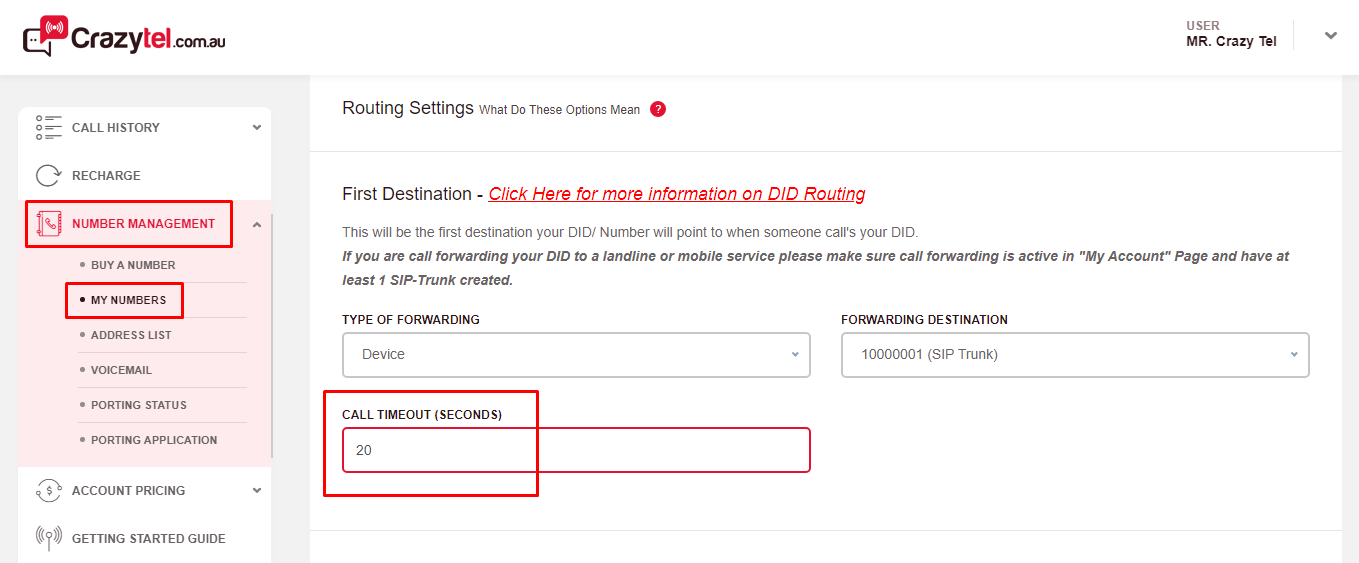
4. Go to
Number Management -> My Number and click on the DID you wish to add this to.
5. Scroll down to the
First Destination section. Enter the amount of time, in seconds, you wish for you phone to ring before going to voicemail.
6. Scroll down to the Second/Backup Destination section and select Voice Mail from the Type of Forwarding drop down and selct your Voicemail Trunk as the Forwarding Destination.
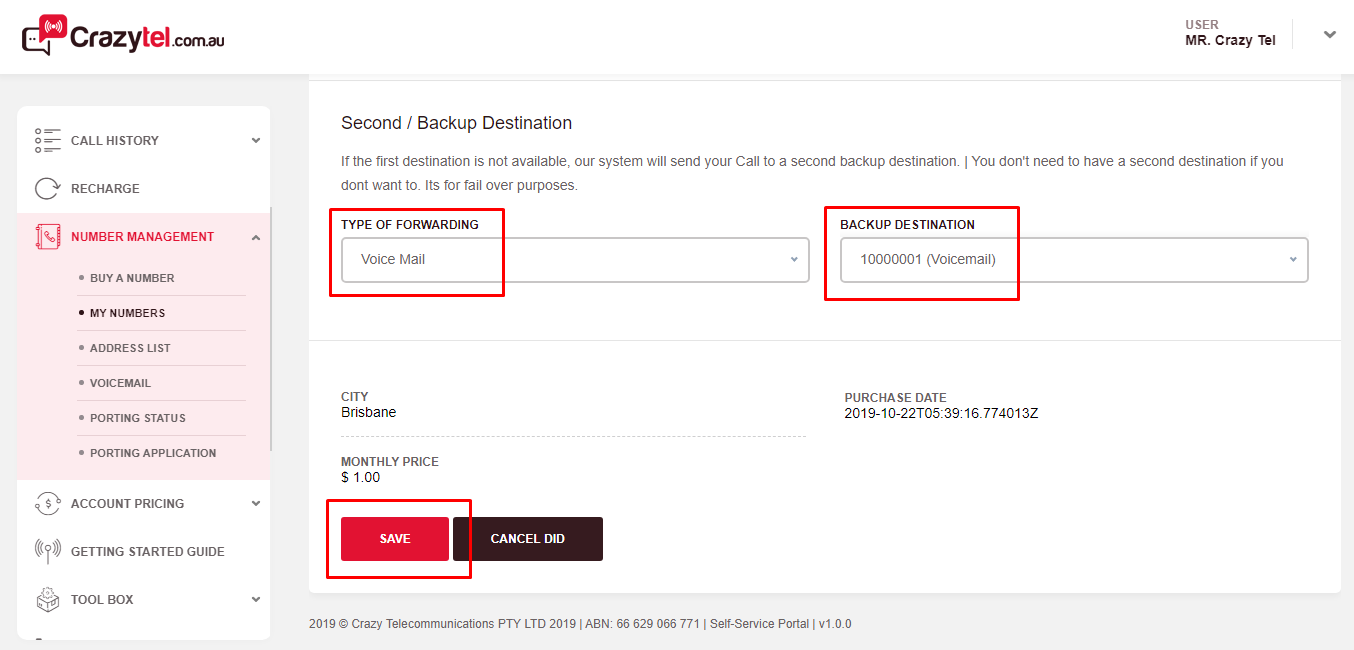
7. Click Submit to save your changes.
8. Once a voice mail has been left you will receive an email to the email address on your account.