1. If you aren't already logged in, head to our portal (
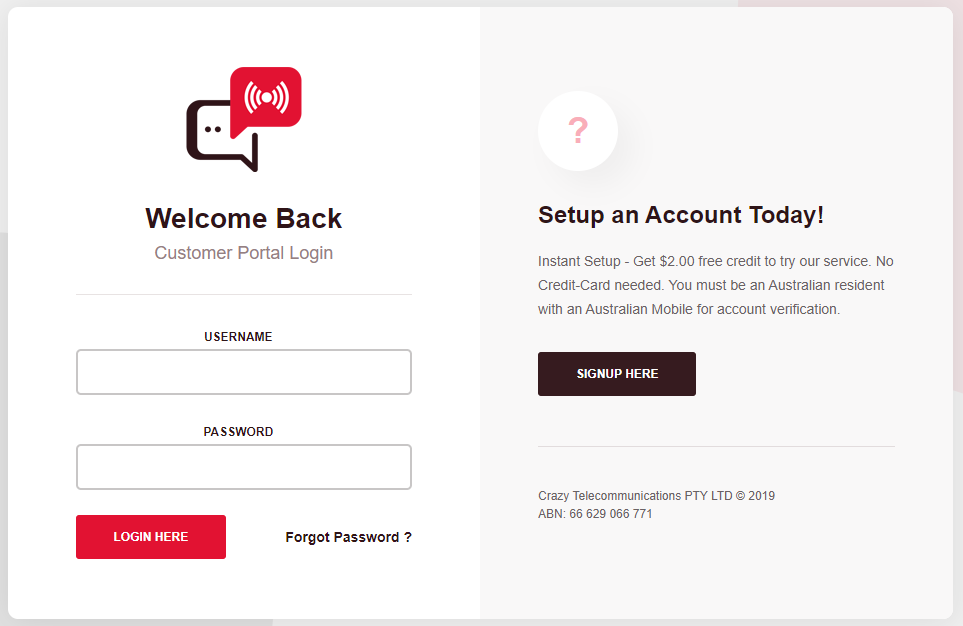
portal.crazytel.com.au) and login with your credentials. If you haven't signed up you can also do that here.

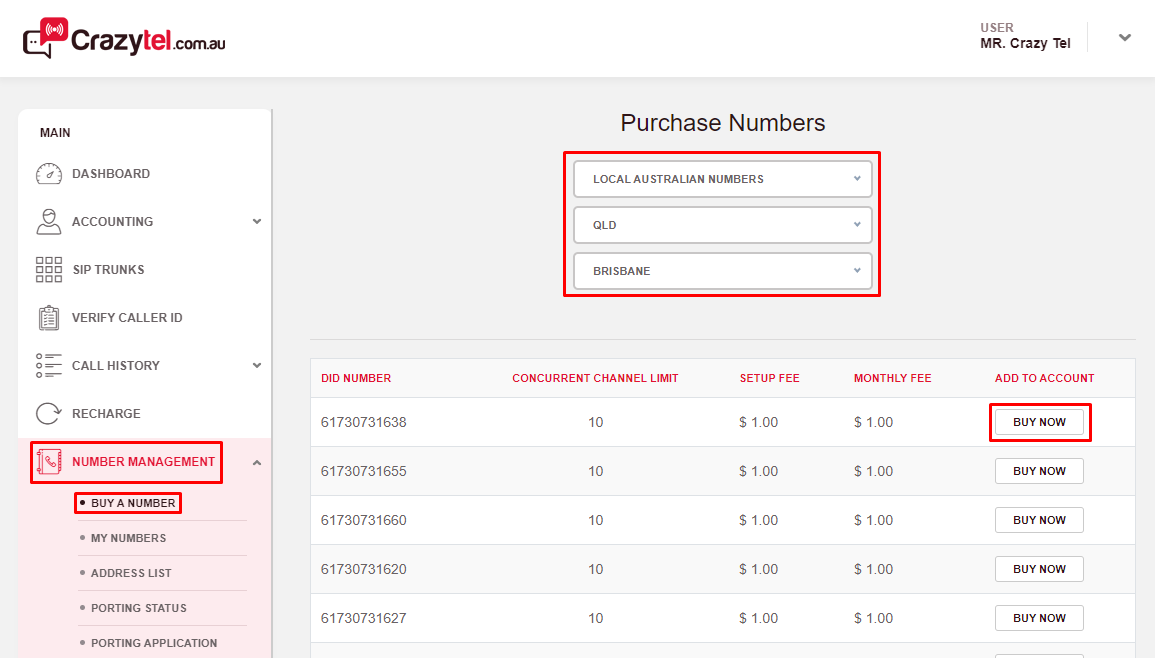
2. Once logged in, go
Number Management -> Buy A Number in the left-hand menu.
3. From the drop-down menus select the type of number you wish to purchase. Once you have selected a number click the
Buy Now button that corresponds to the number you want.

4. Select an Address from the drop-down to assign to the number you just selected. Then click
Assign.

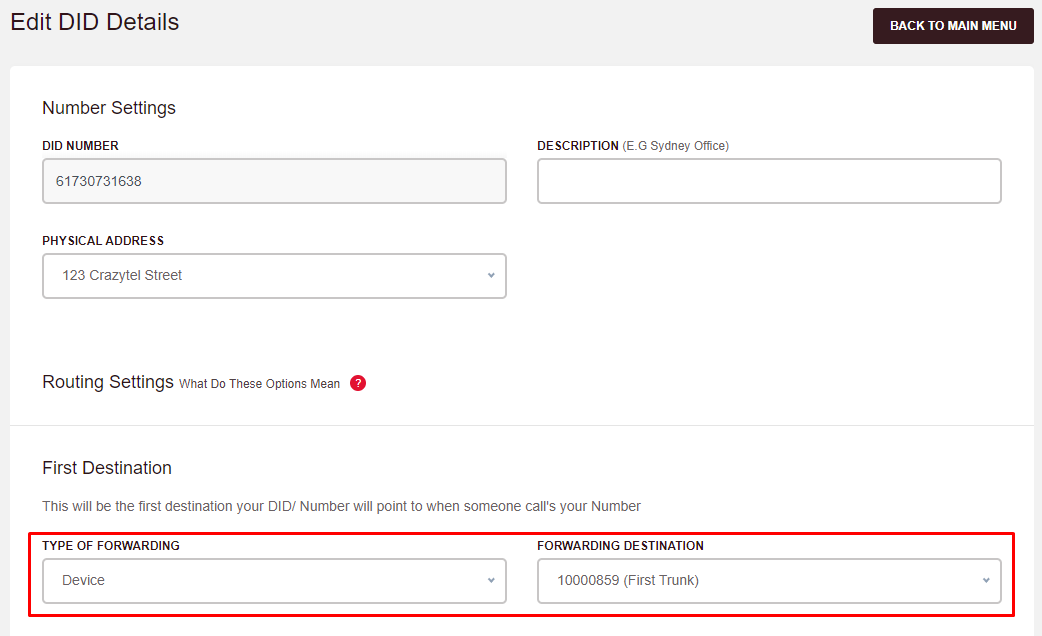
5. To start receiving calls through this number you will need to assign it to a SIP Trunk. On the Edit DID Details page select the
Type of Forwarding and
Forwarding Destination as per your requirements. Scroll to the bottom of the page and click
Save.| Type of Forwarding | Forwarding Destination |
| Disable - this will disable to DID | Field will be disabled |
| Device - sends the call as the SIP Trunk username and is useful for configuring a soft-phone or ATA. | Select the SIP Trunk from a drop-down |
| Server - sends the call as the DID number, which is more suitable for a PBX | Select the SIP Trunk from a drop-down |
| URI - forward your DID via SIP URI | Use a URI such as {E164}@sip.example.com:5060 (with a literal {E164}) to send the number in international format (e.g. 61370101234), or {alphanumeric}@198.51.100.45:5060 to point to a particular full URI. You must include the port and must not prefix the URI with sip:
|
| Call Forwarding - sending calls to another number | if forwarding to a Mobile or Landline please enter the number in 61 format and in international format for international numbers e.g. 0011(Country code)(Number) *Charges Apply |

Congratulations! You have now purchased and setup your first number.
