Before adding the SIP Truck to FreePBX, please make sure you have created an
Extension and added it to your
Phone.
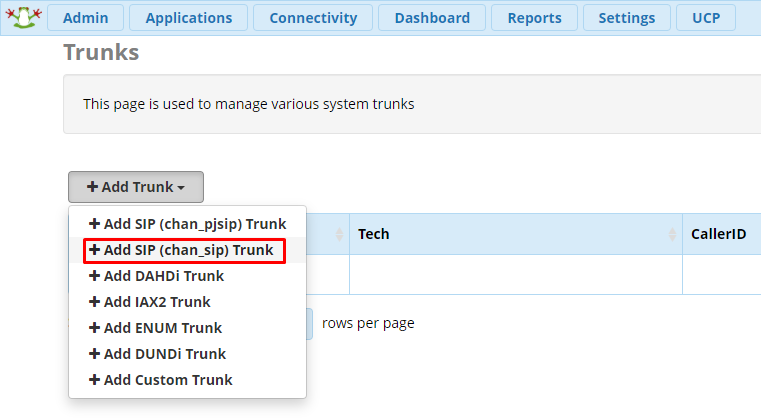
1. Login to your FreePBX Installation and in the top menu go
Connectivity -> Trunks. Click on the
Add Trunk button and select
Add SIP (chan_sip) Trunk.
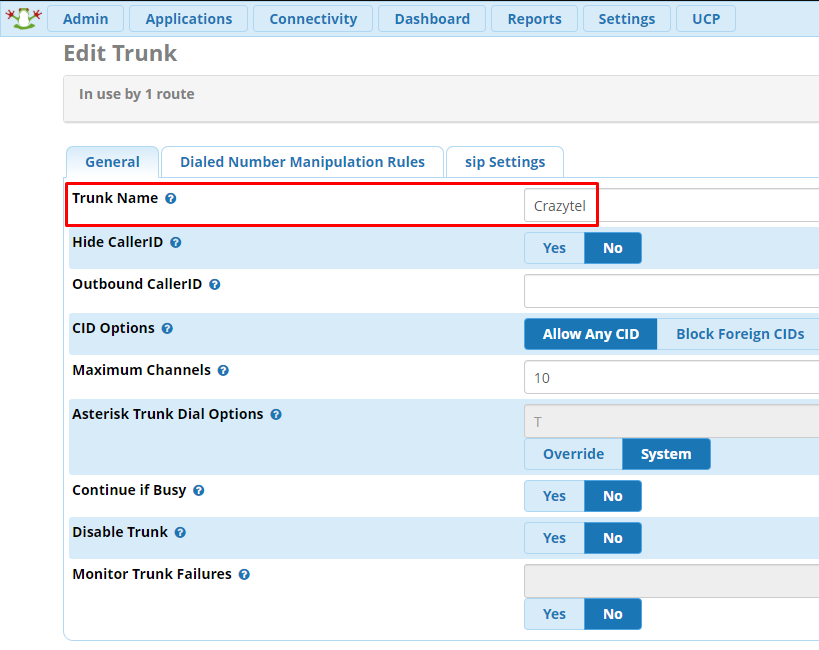
2. On the
General tab give the trunk a name.
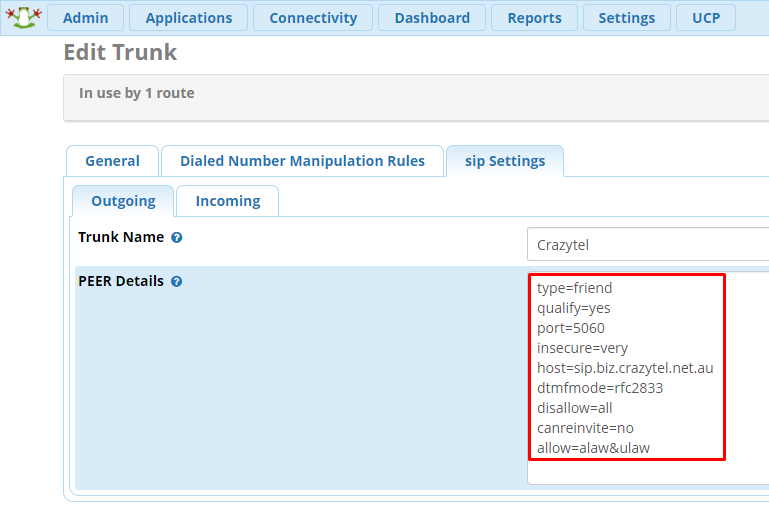
3. Click on the
sip Settings tab and add the below details into the
PEER Details text box. Make sure to
URL/Host to be what Crazytel provided when setting up your SIP Trunk.
type=friend
qualify=yes
port=5060
insecure=very
host=
sip.crazytel.net.audtmfmode=rfc2833
disallow=all
canreinvite=no
allow=alaw&ulaw
You will now be able to make and receive calls through your Crazytel service.
If you experience any issues, please check out
FreePBX Quick Tips guides.
